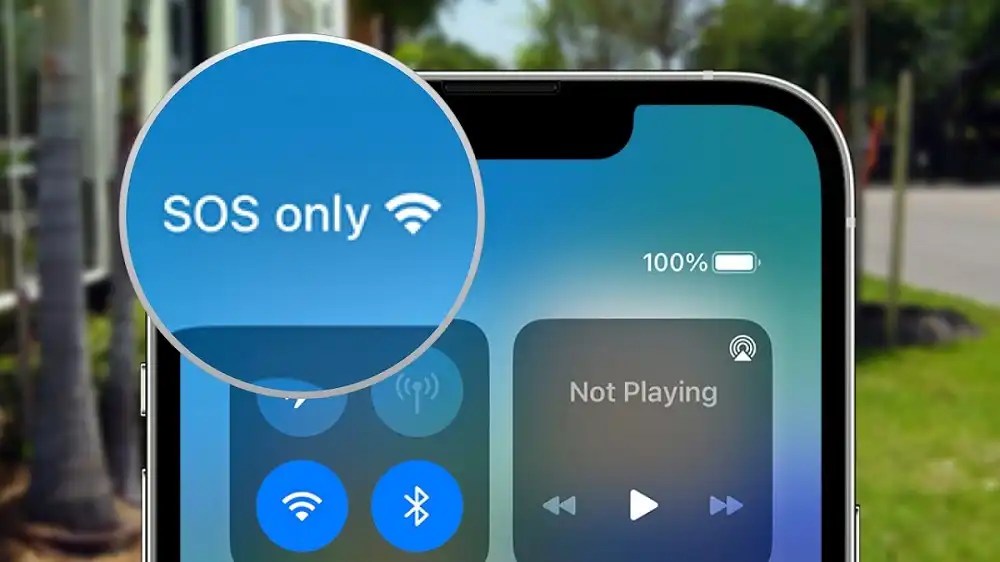
Are you experiencing the dreaded "SOS Only" message on your iPhone? This frustrating issue can leave you feeling disconnected and helpless, especially when you rely on your device for communication. The "SOS Only" status indicates that your iPhone is unable to connect to your cellular network, leaving you with limited options for making calls or sending texts. Fortunately, there are several steps you can take to resolve this issue and restore normal function to your device.
In this article, we will explore various troubleshooting methods to help you fix the "SOS Only" problem on your iPhone. Whether you're facing this issue after a recent update, changing SIM cards, or simply out of the blue, we've got you covered with practical solutions that can quickly get your iPhone back to normal. From checking your network settings to resetting your device, we'll guide you through the necessary steps to regain full connectivity.
Stay tuned as we delve into the causes of the "SOS Only" message and provide you with a comprehensive guide on how to fix it. With a little patience and the right approach, you can get your iPhone back to communicating with the world in no time. Let's dive into the details and find out how to resolve this frustrating issue.
What Causes the SOS Only Message on iPhone?
The "SOS Only" message on your iPhone can be caused by a variety of factors. Understanding these reasons can help you diagnose the issue effectively. Here are some common causes:
- Network issues with your carrier
- SIM card problems
- Software glitches or bugs
- Outdated carrier settings
- iPhone settings misconfiguration
How to Fix SOS Only on iPhone?
Now that we've identified some potential causes for the "SOS Only" message, let's explore how to fix it. Here are some effective solutions:
1. Restart Your iPhone
Sometimes, a simple restart can resolve connectivity issues. To restart your iPhone:
- Press and hold the side button and one of the volume buttons until the power off slider appears.
- Drag the slider to turn off your iPhone.
- After your device powers down, press and hold the side button again until you see the Apple logo.
2. Check Your SIM Card
If restarting your iPhone doesn’t work, the next step is to check your SIM card. Follow these steps:
- Power off your iPhone.
- Remove the SIM card using a SIM ejector tool.
- Inspect the SIM card for any damage or dirt.
- Reinsert the SIM card securely and power on your iPhone.
3. Update Carrier Settings
Outdated carrier settings can also lead to connection issues. To update your carrier settings:
- Connect your iPhone to Wi-Fi.
- Go to Settings > General > About.
- If an update is available, you’ll see an option to update your carrier settings.
4. Reset Network Settings
If the problem persists, resetting your network settings may help. Note that this will erase all saved Wi-Fi passwords and VPN settings:
- Go to Settings > General > Reset.
- Select Reset Network Settings and confirm your choice.
When Should You Contact Your Carrier?
If you’ve tried all the above methods and still see the "SOS Only" message, it might be time to contact your carrier. Here are some signs that indicate you should reach out for help:
- Other devices on the same network are working fine.
- You're unable to use cellular data or make calls on your iPhone.
- Your account status shows no issues, but you still can’t connect.
Can Software Updates Fix SOS Only on iPhone?
Yes, software updates can potentially resolve bugs that may be causing the "SOS Only" issue. To check for software updates:
- Go to Settings > General > Software Update.
- If an update is available, follow the prompts to install it.
How to Restore iPhone to Factory Settings?
If all else fails, restoring your iPhone to its factory settings can be a last-resort solution. Remember to back up your data before proceeding:
- Go to Settings > General > Reset.
- Select Erase All Content and Settings.
- Follow the prompts to erase your iPhone and set it up as new.
Conclusion: The Path to Connectivity
Dealing with the "SOS Only" message on your iPhone can be a frustrating experience, but with the right troubleshooting steps, you can resolve the issue and regain full connectivity. Remember to restart your device, check your SIM card, update carrier settings, and reset network settings as necessary. If all else fails, don’t hesitate to reach out to your carrier for assistance or consider restoring your device to factory settings. Stay connected and enjoy the seamless communication that your iPhone was designed to provide.
Article Recommendations
- Dashner James A Literary Phenomenon In Young Adult Fiction
- Download Latest Guc Songs Mp3 Free
- Fivio Foreign Gang A Deep Dive Into The Hiphop Scene


